


Because it is such an important feature, we wanted to emphasize it by adding version control to the menu and writing a blog post about it. But as the post progressed, we realized some improvements were needed. First and foremost, we changed the name to Data conversion.
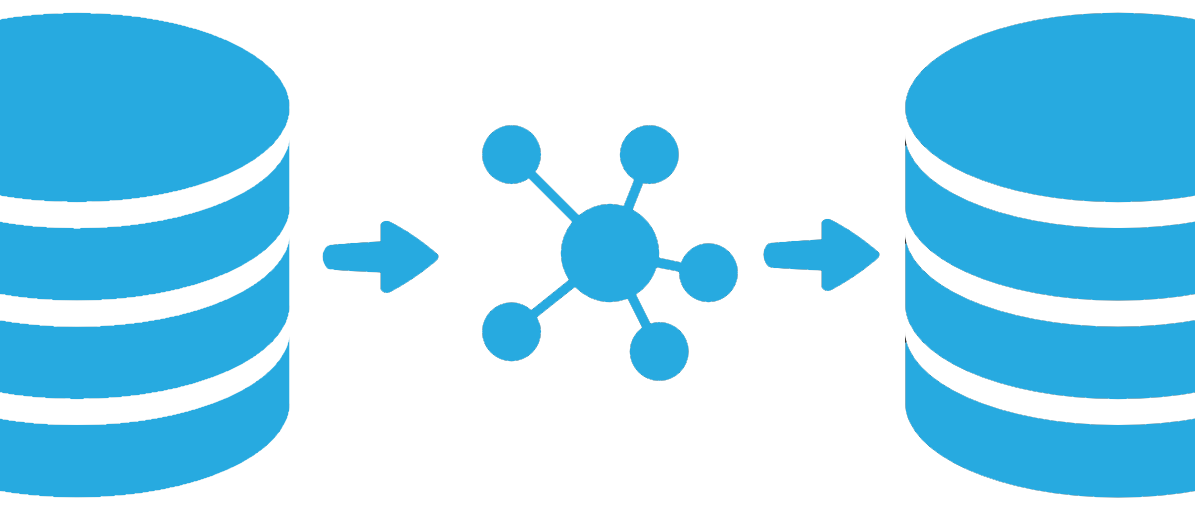
Data conversion can be used to transform existing data to the new structure, just as version control could, and this screen can be found in the Deployment menu.

Features of Data conversion
When you prepare for an upgrade, the first step is to check the selected previous version. When you are working with branches and multiple versions, it can be confusing which version is the “previous version”. Just remember that the previous version is the version of the database that you want to upgrade. You can check the SF_product_info table in the database to verify this.By using the task Update previous version, you can update the previous project version and data conversion mapping. It is possible to define a mapping for different previous project versions, but by default only the mapping for the current previous version is shown.
Match tables or columns
Data conversion will automatically try to match old tables to new tables. If the match succeeds, the From table id and To table id are filled and the status is set to Changed. When a table is renamed, you want the data from the old table to be inserted in the new table. You can do this by adding the old table name to the From table idin the new record and then update data conversion again. The mapping will be updated and the old record will be removed.Separate tables or columns
Sometimes a table has the same name as before data conversion but a different function after data conversion. Therefore, the data is no longer correct and you want the table to be empty after the upgrade. You can do this by removing the value of From table id and then update data conversion again. There will be a second record with the status Deleted.Rebuild tables
Even though nothing has changed, you can still rebuild a complete table. This can be used when the structure of the table might be compromised and you want to make sure that, after the upgrade, the table matches the structure as described in the Software Factory.Default values for new columns
After you match two tables, you can then match and separate the columns. Here, there is the possibility to add a default value. The difference between the default value of data conversion and the default value in the data model is that the default value of data conversion is only used during the upgrade. The default version in the data model is added to the database and used with every row that is added.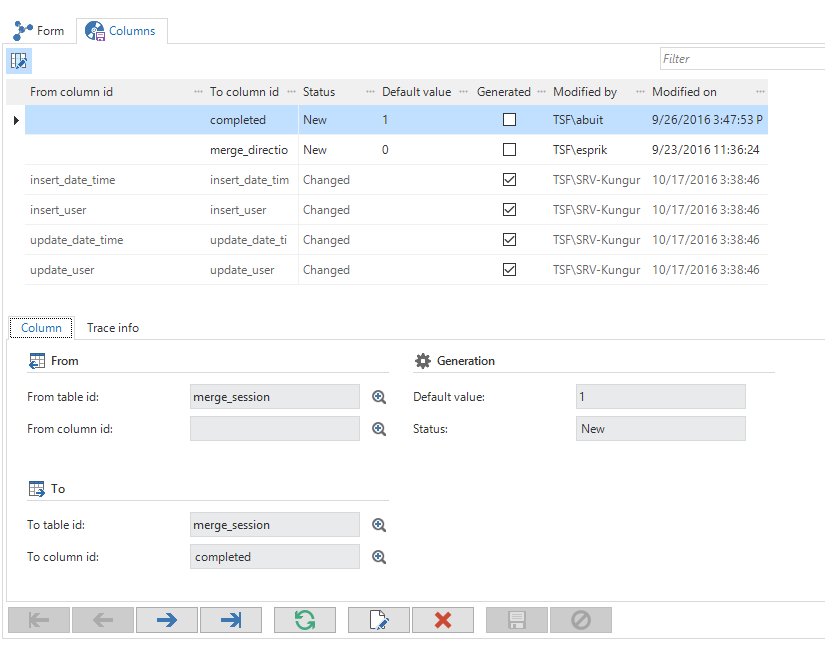
So if you want to add a checkbox “approved”, you would probably want it set to 0 by default and then updated by a user that approved the record. But if this is in an existing table, you don’t want the user to approve all the old data. Therefore, you can set the default value of the data conversion column to 1. After the upgrade, old records are approved and new records are not.